DIY Faux Metal Letter

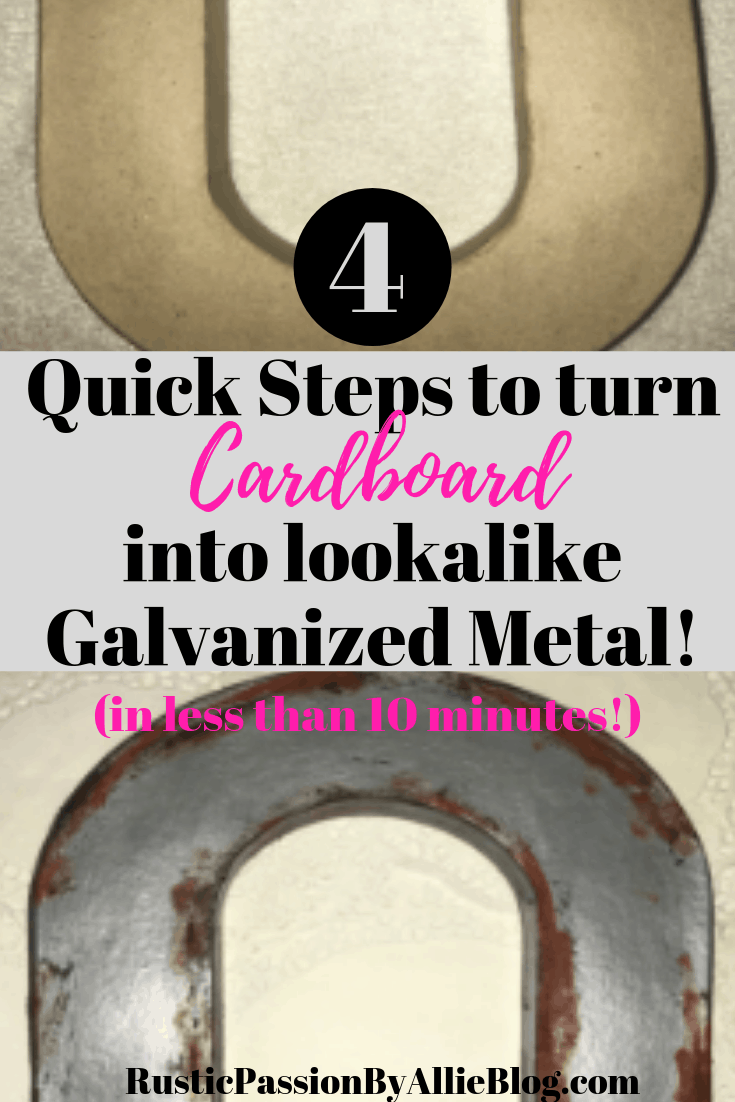
I adore this Farmhouse hack! This DIY Faux Galvanized Metal letter is so EASY and cost barely anything to make!
Hi guys. I hope your week is going great! It’s a new year. That means new goals. That is one of my favorite things about starting a new year. It’s a time to reflect on where you are at in life right now, and figure out steps that will help you become a better version of yourself. One statement that I live by is always trying to be a better version of myself than I was yesterday.
Let’s hangout more than just here?! Sign up and become a part of my blog family! I would love to connect with y’all. Fill out your info below and let’s connect on Instagram!
Since starting my business and becoming a full time blogger my goal each day is to be as productive and positive as possible. Honestly it makes all the difference for having a positive mindset through the day.
Side note… If you want to start your own blog you can see step by step instructions and see exactly what I do to create a profitable successful blog.
Take a look around the Blog!
Popular Blog Posts:
So let’s get down to business! I love DIY farmhouse home decor.
There are endless options when it comes to creating you’re on decor and decorating on a budget. That’s why DIYing everything is so awesome. Because you get to create beautiful decorations to display in your home.
So in this blog post I want to share a galvanized metal hack with y’all. It’s so easy and was fun to make.
Items you will need for this project:
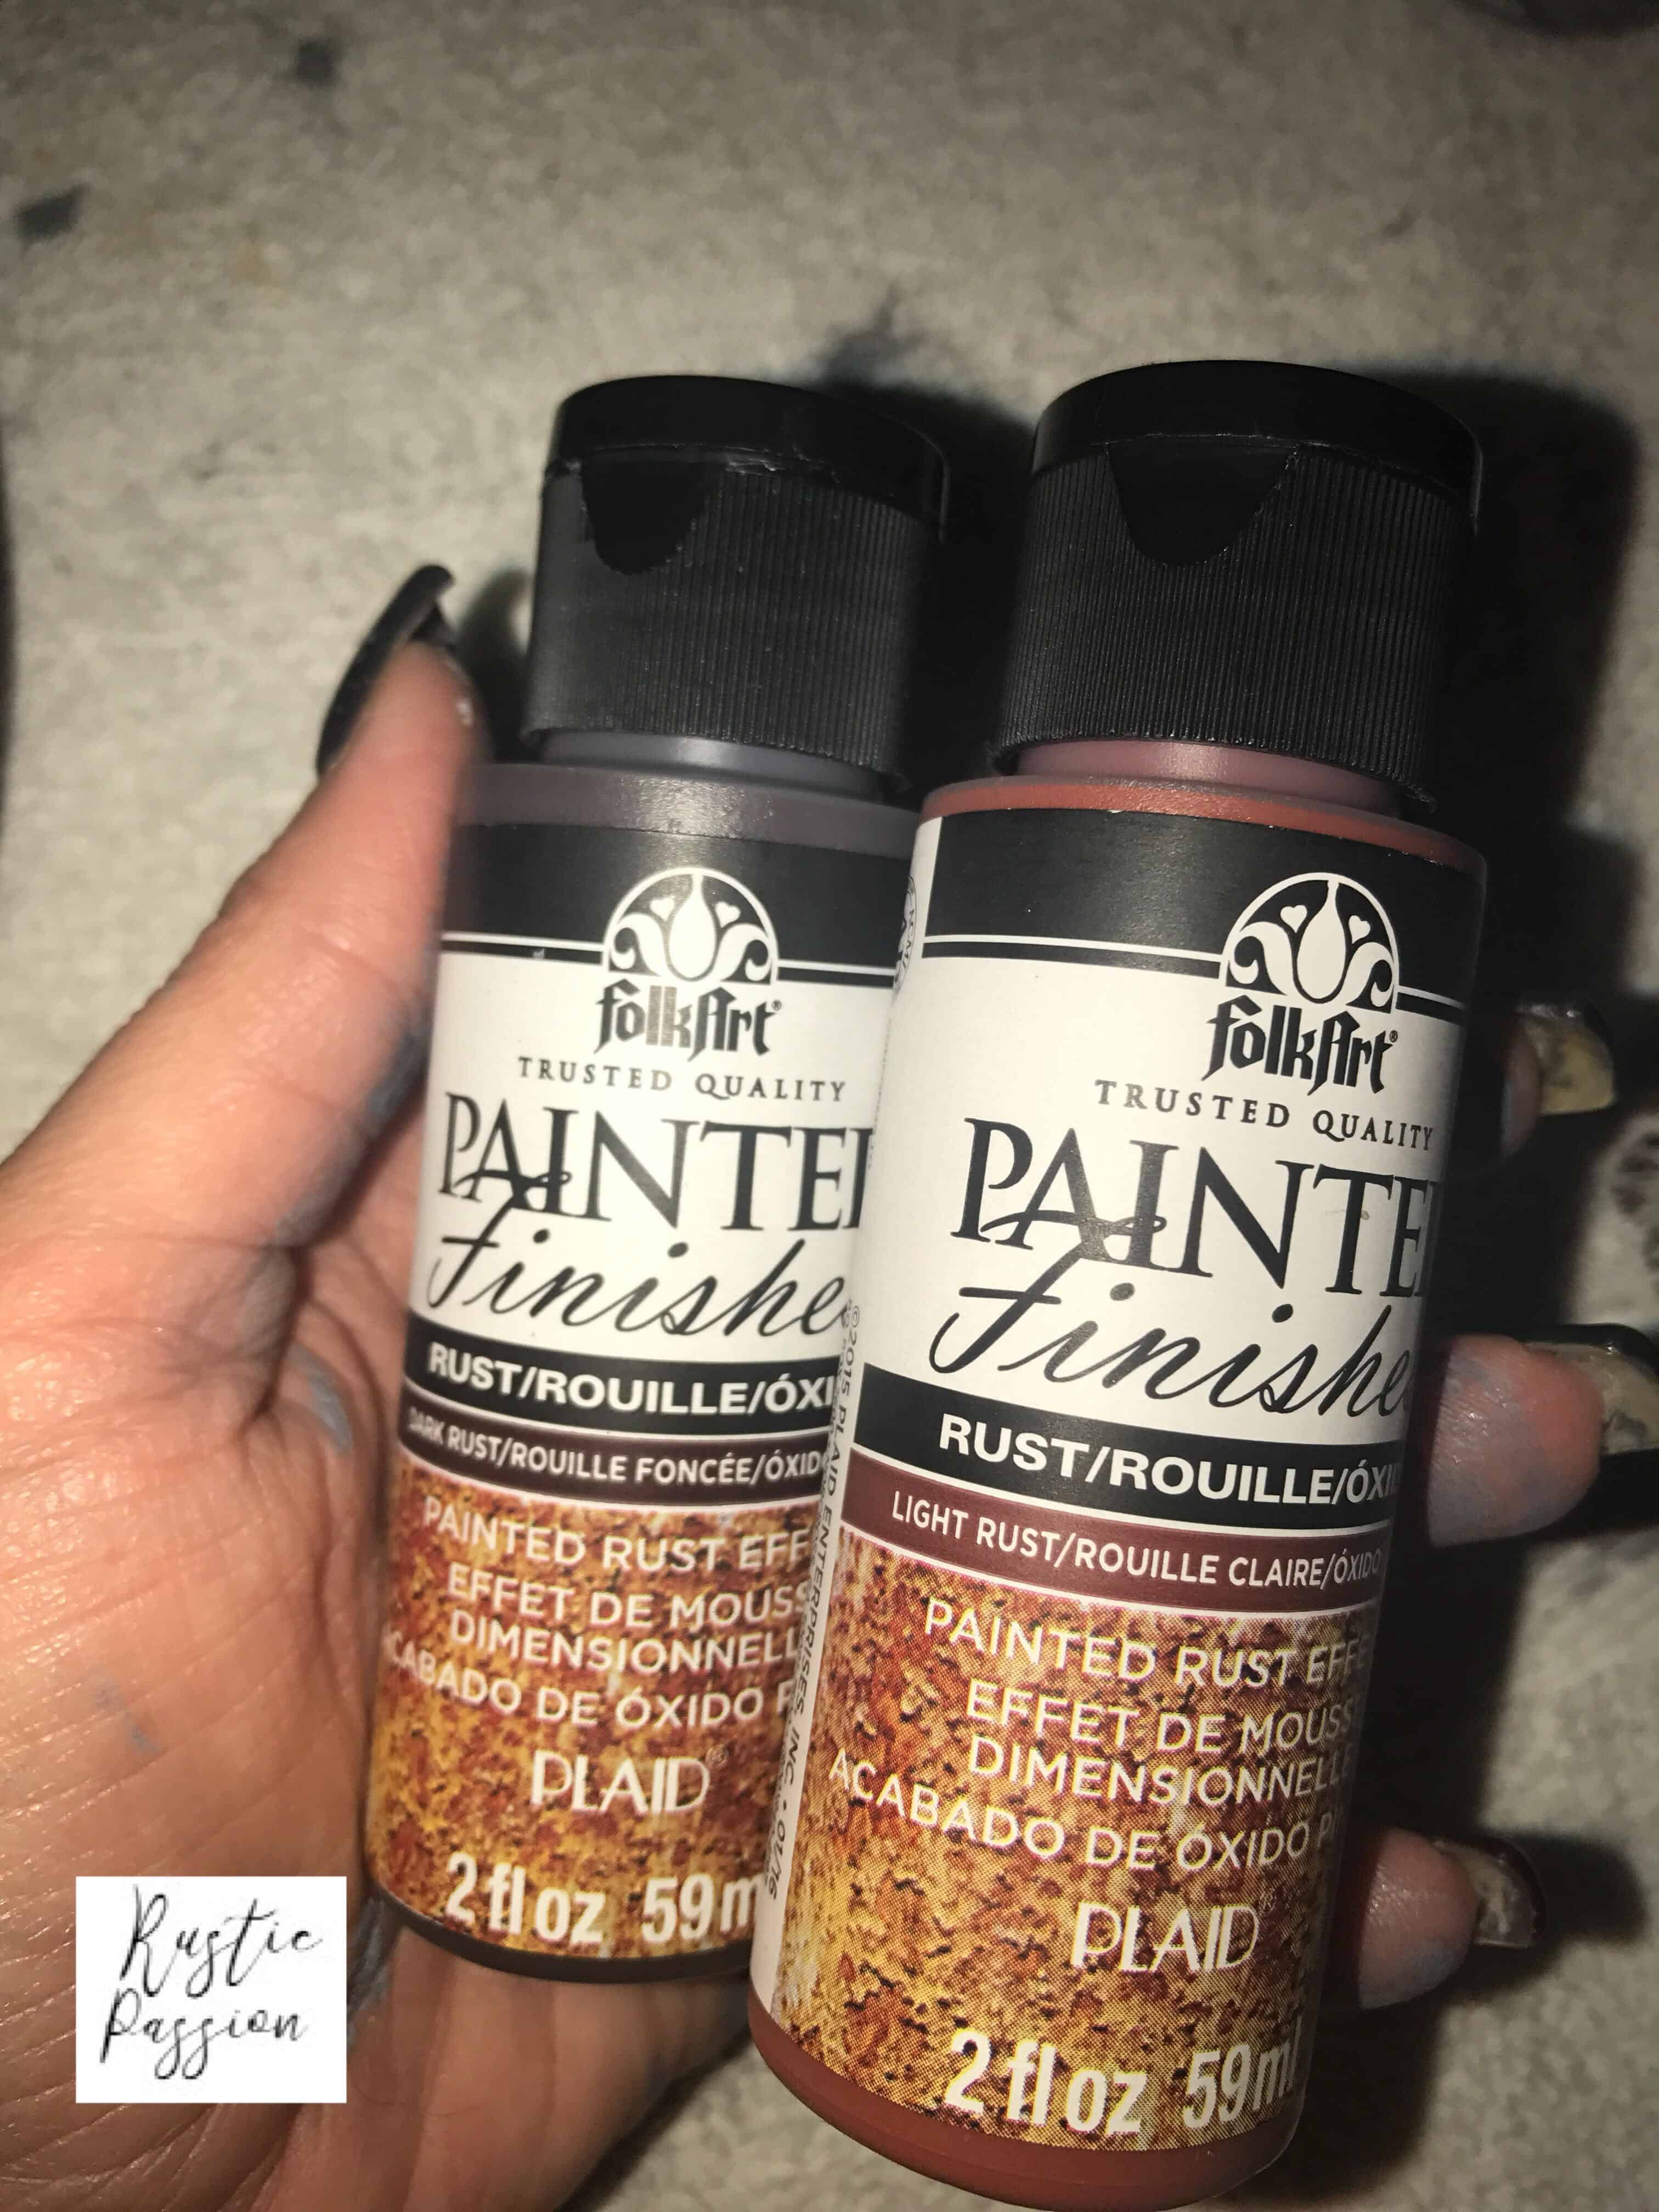
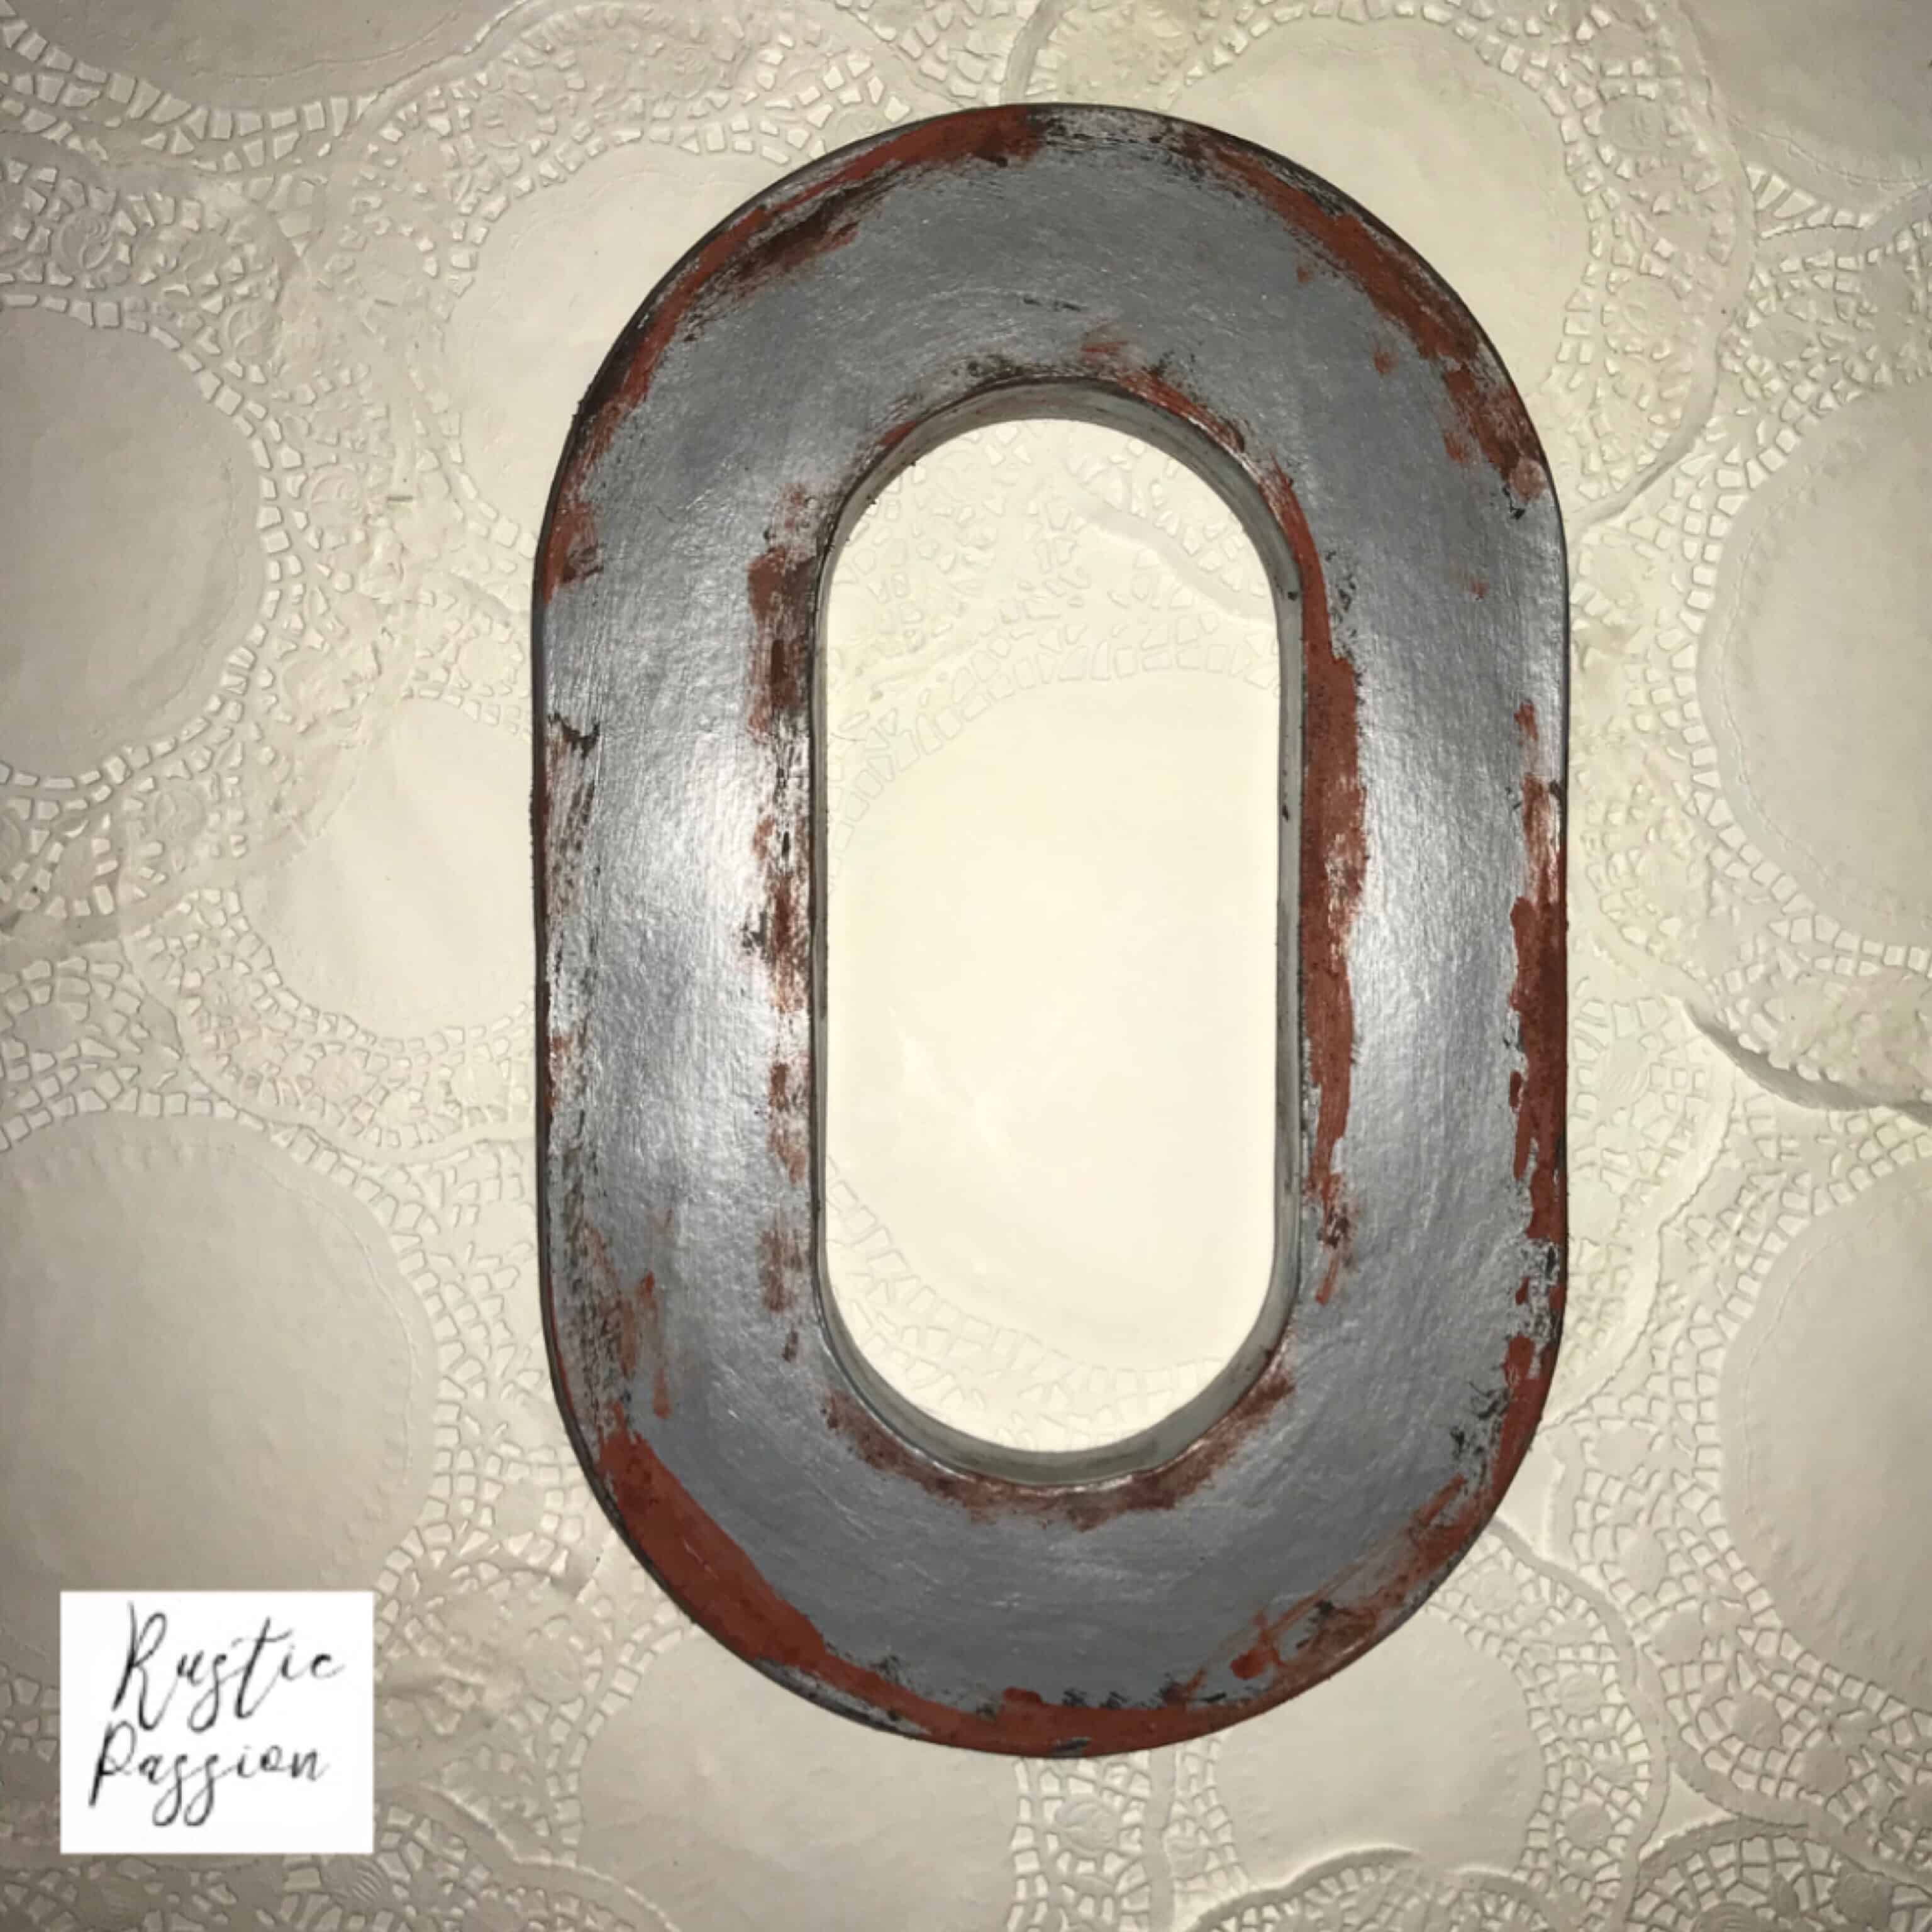
You won’t believe this “metal” O isn’t actually metal. It’s cardboard but you can’t even tell! It was something I was so excited to make this because I bought a DIY rust paint kit, and have been dying to use it.
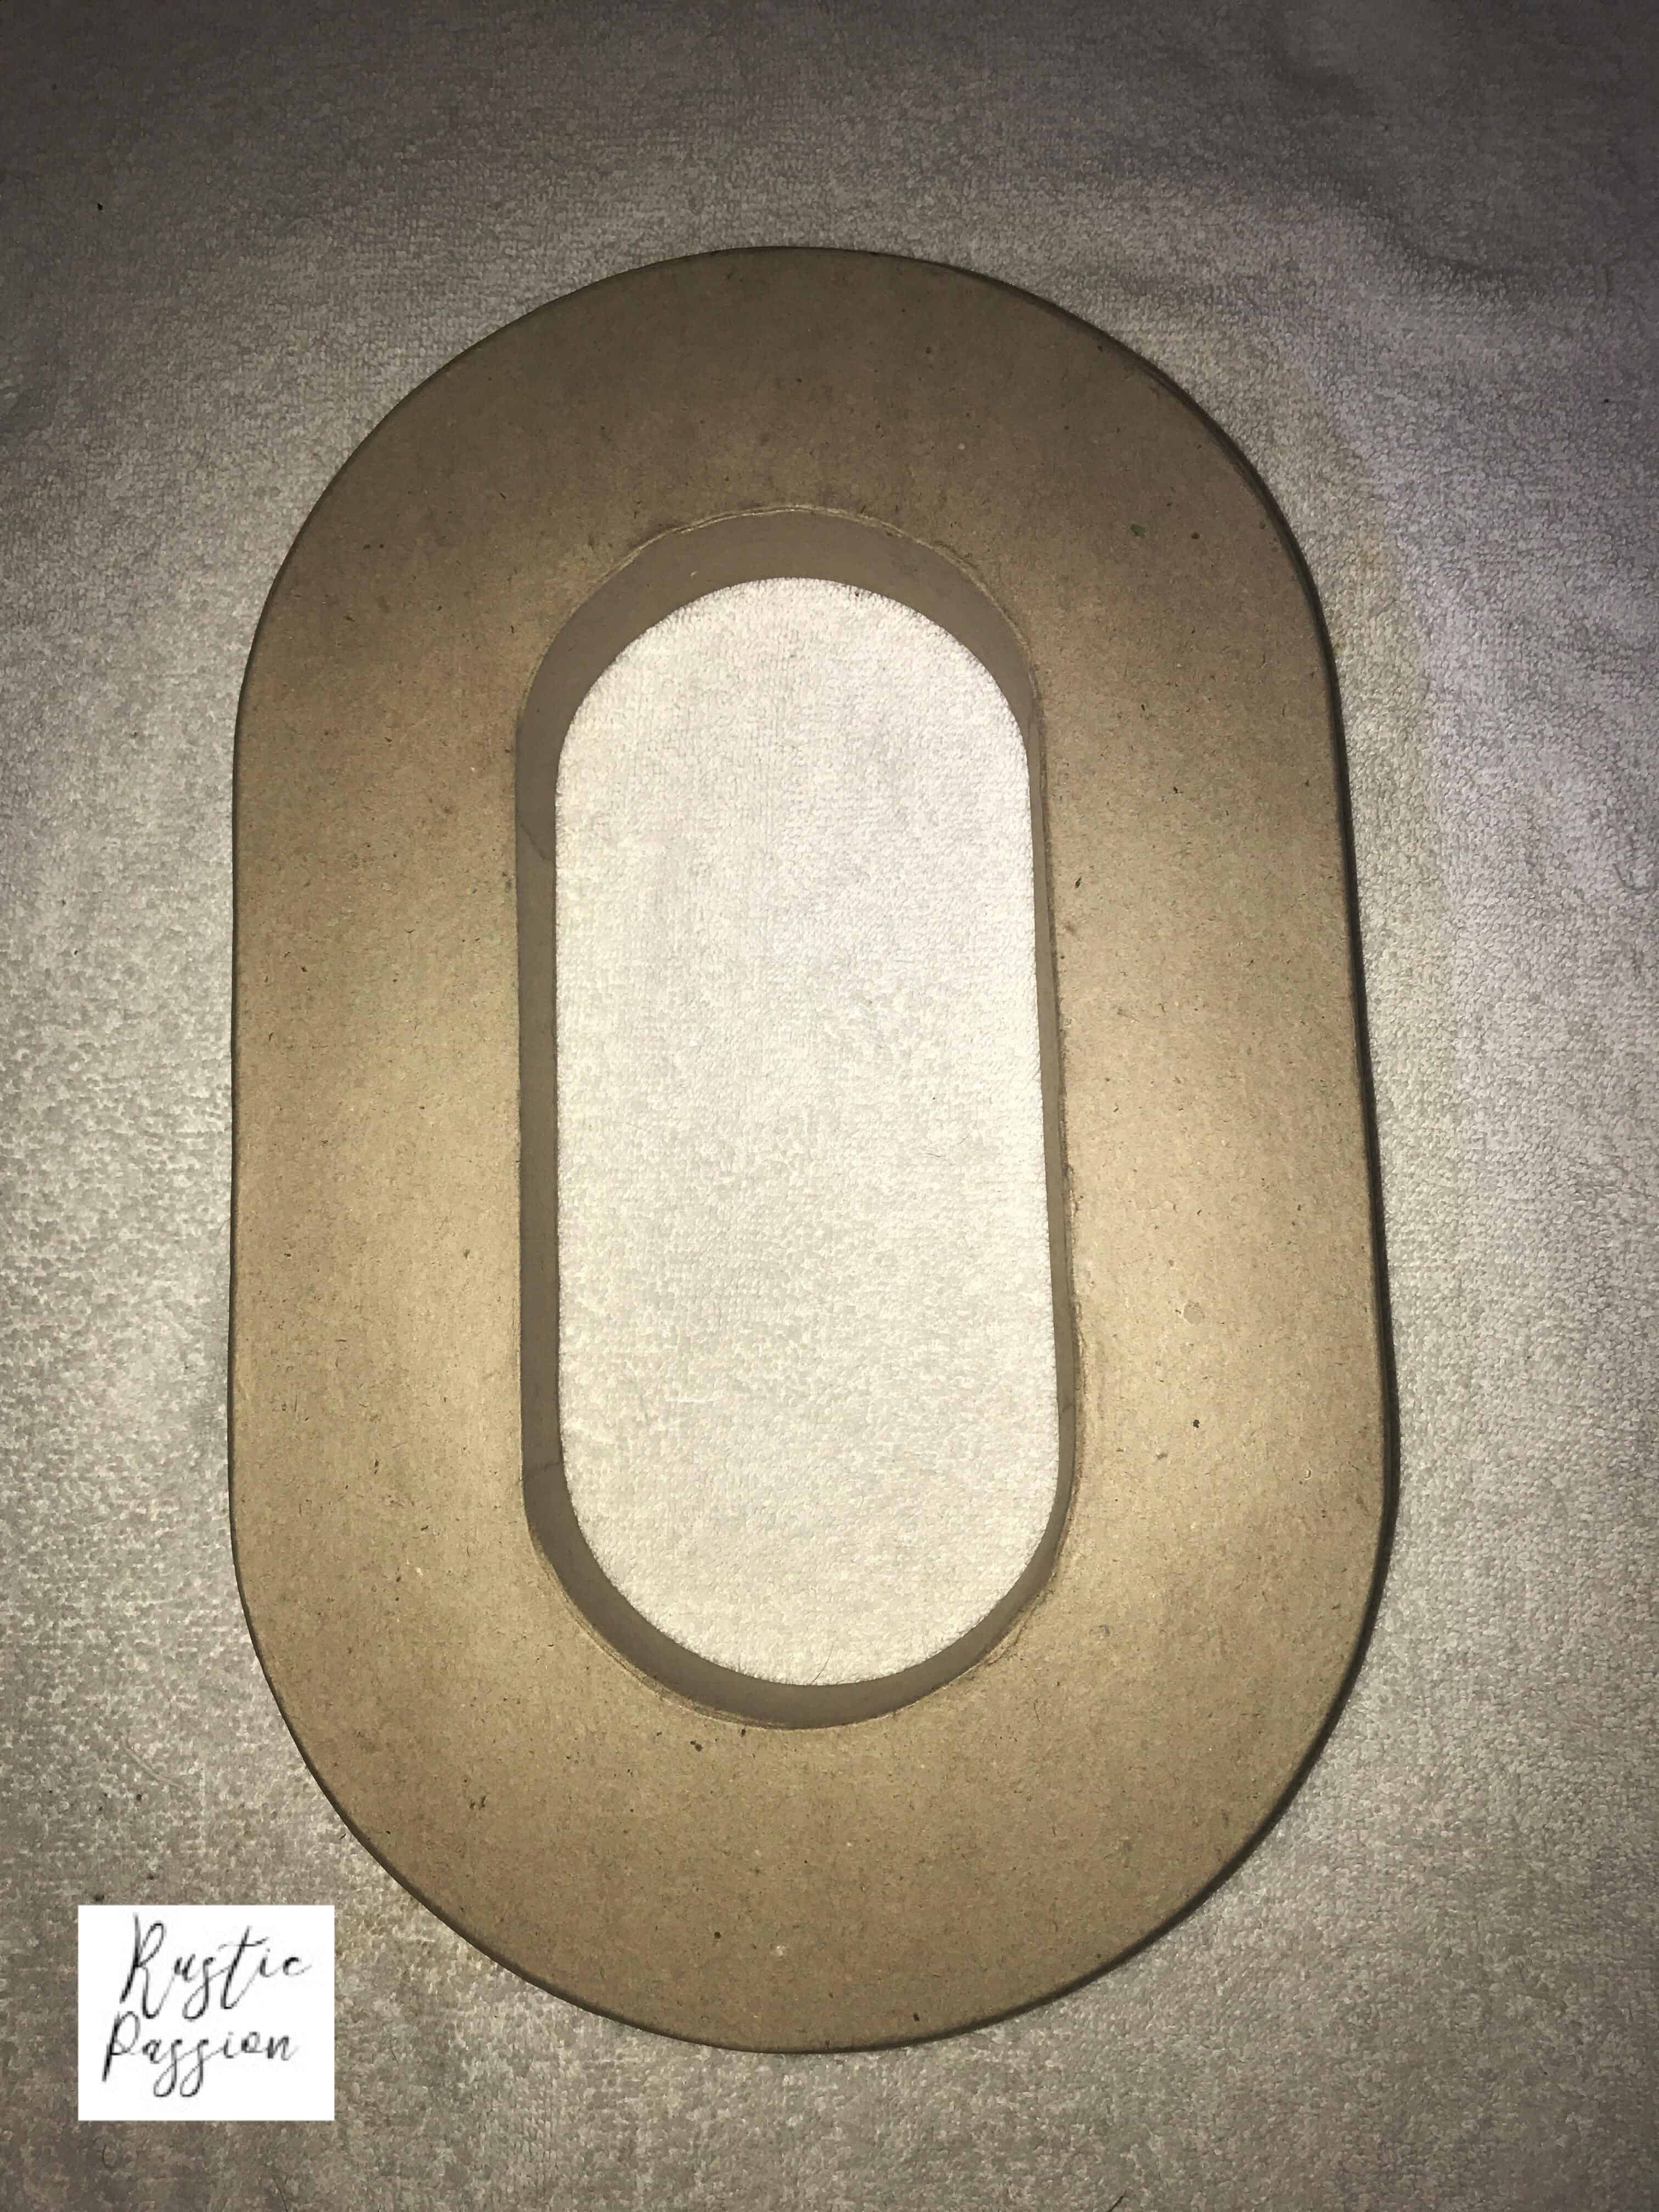
First off I painted my O gray.

It took a couple layers. You will want to let it dry between layers for about 30 minutes. Once the second layer was dry I used a metallic silver paint.
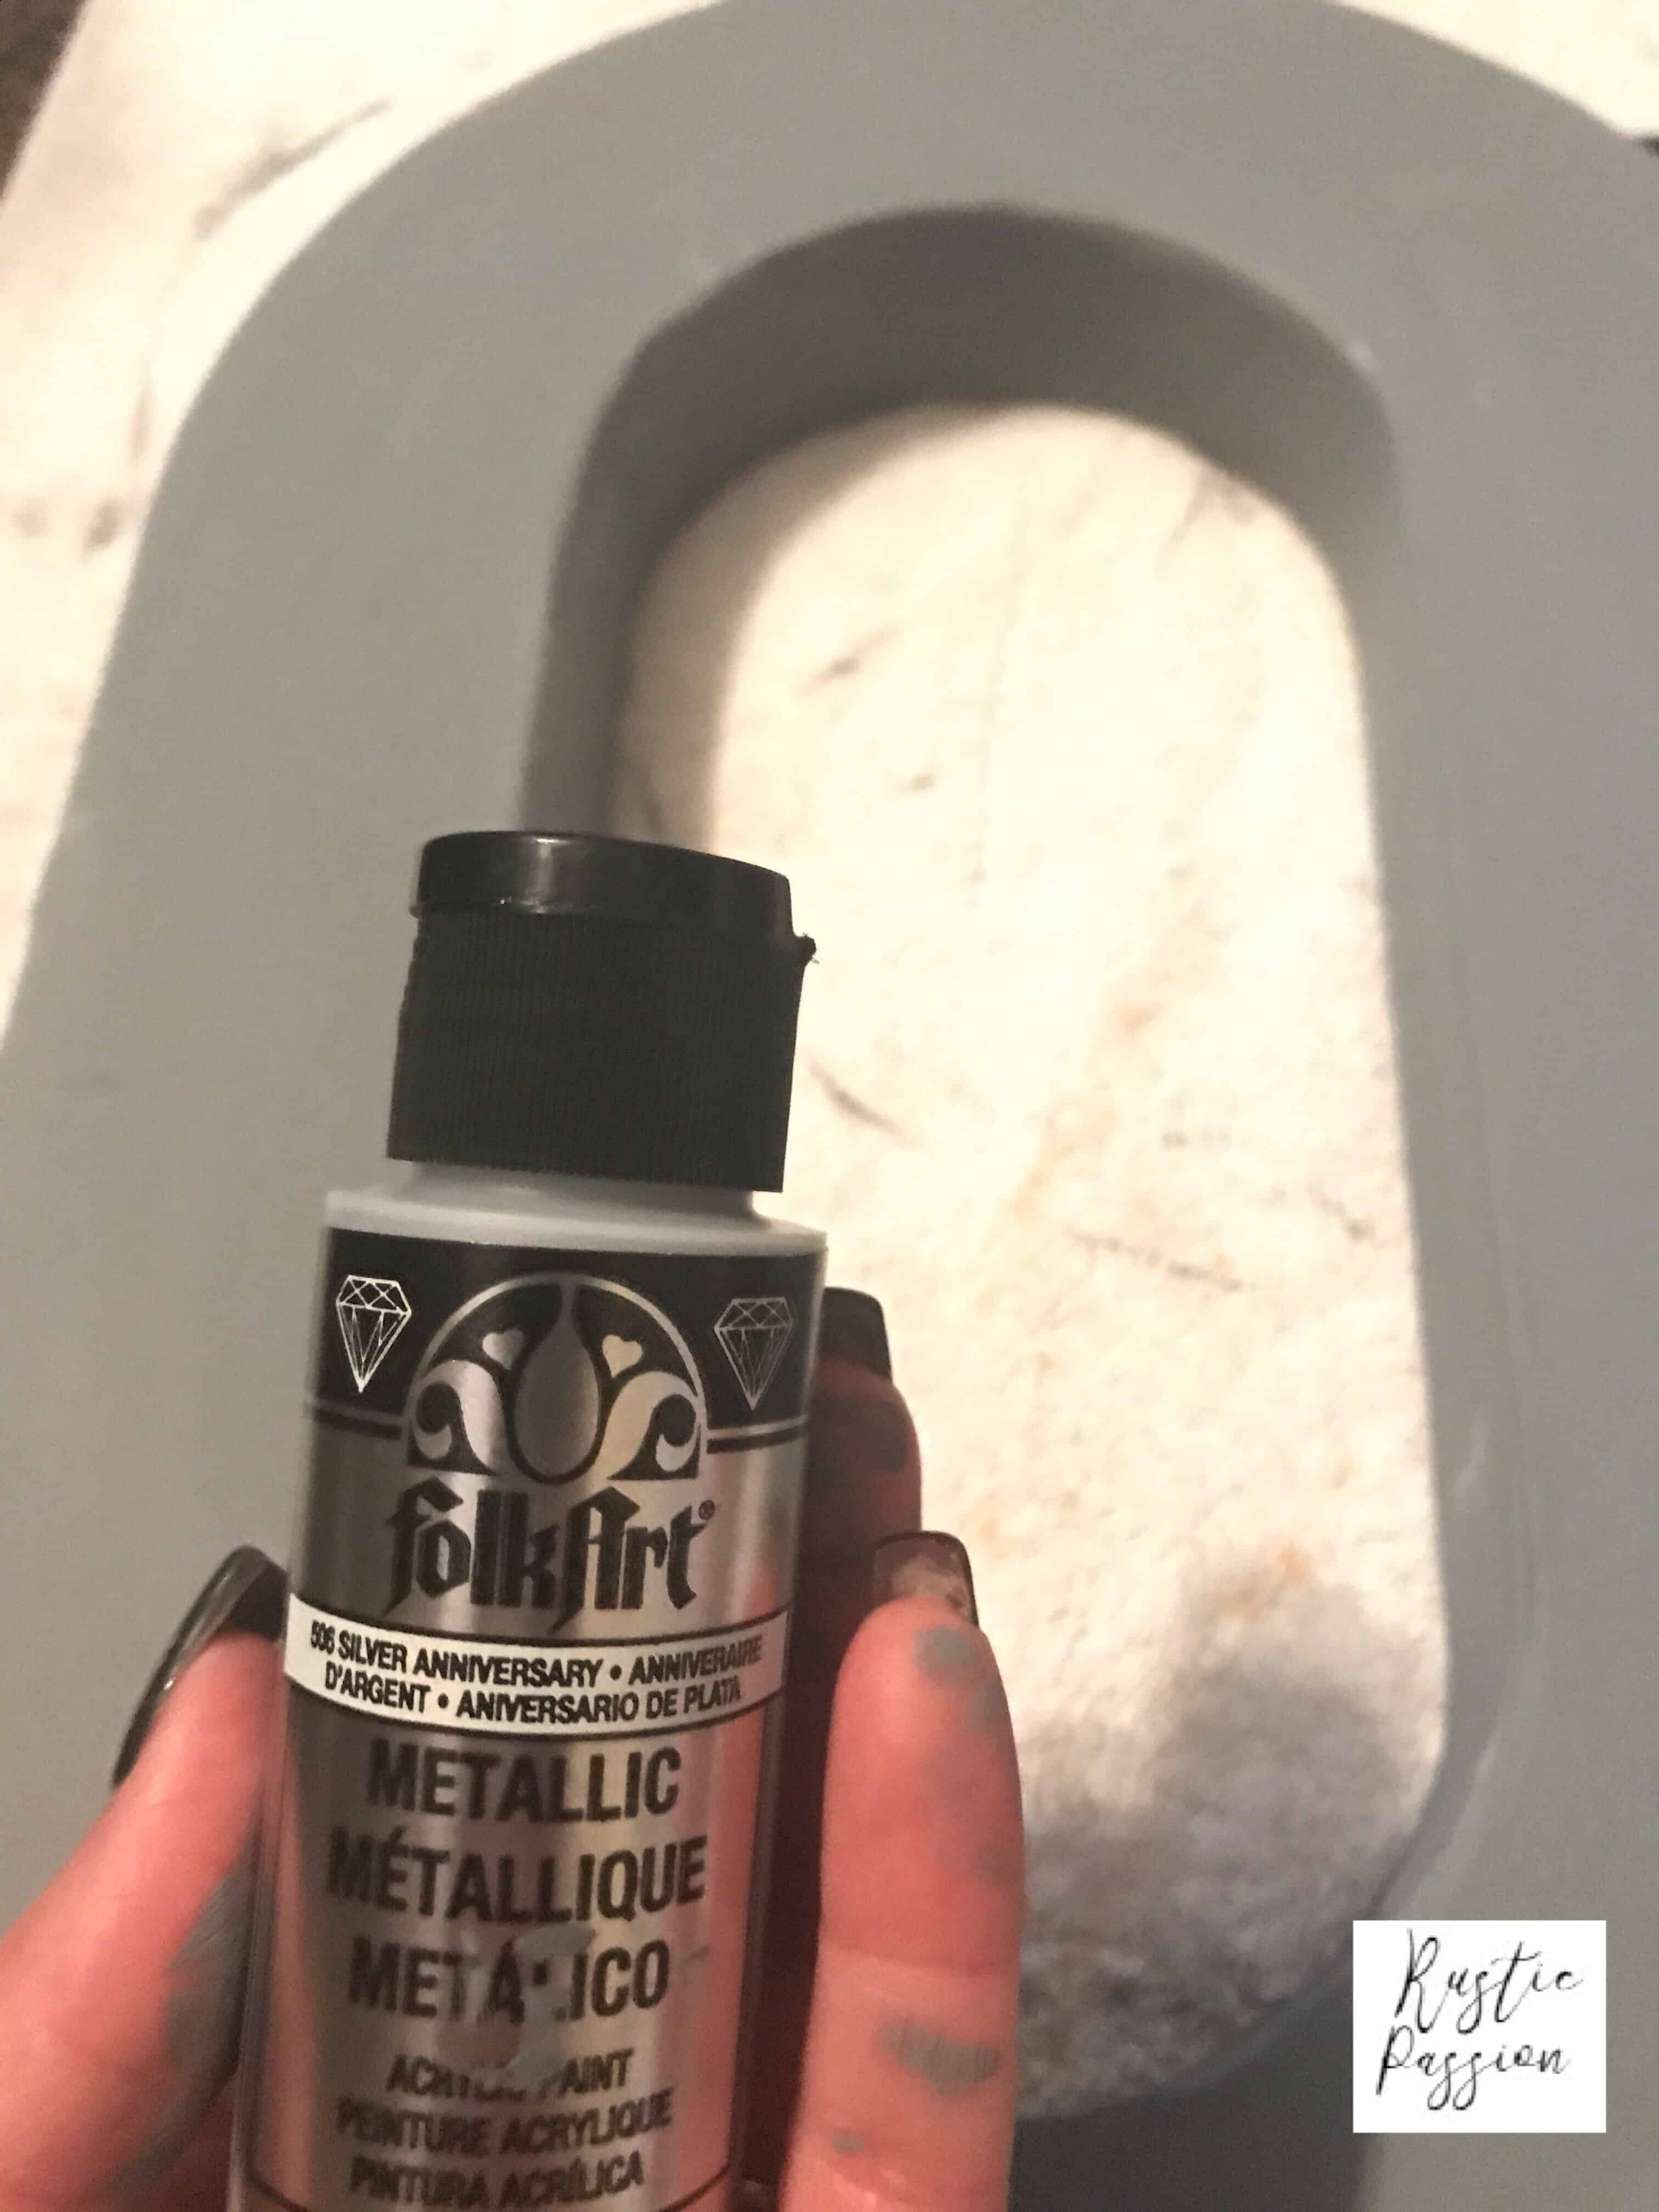
This also took a couple layers. Same process to dry.
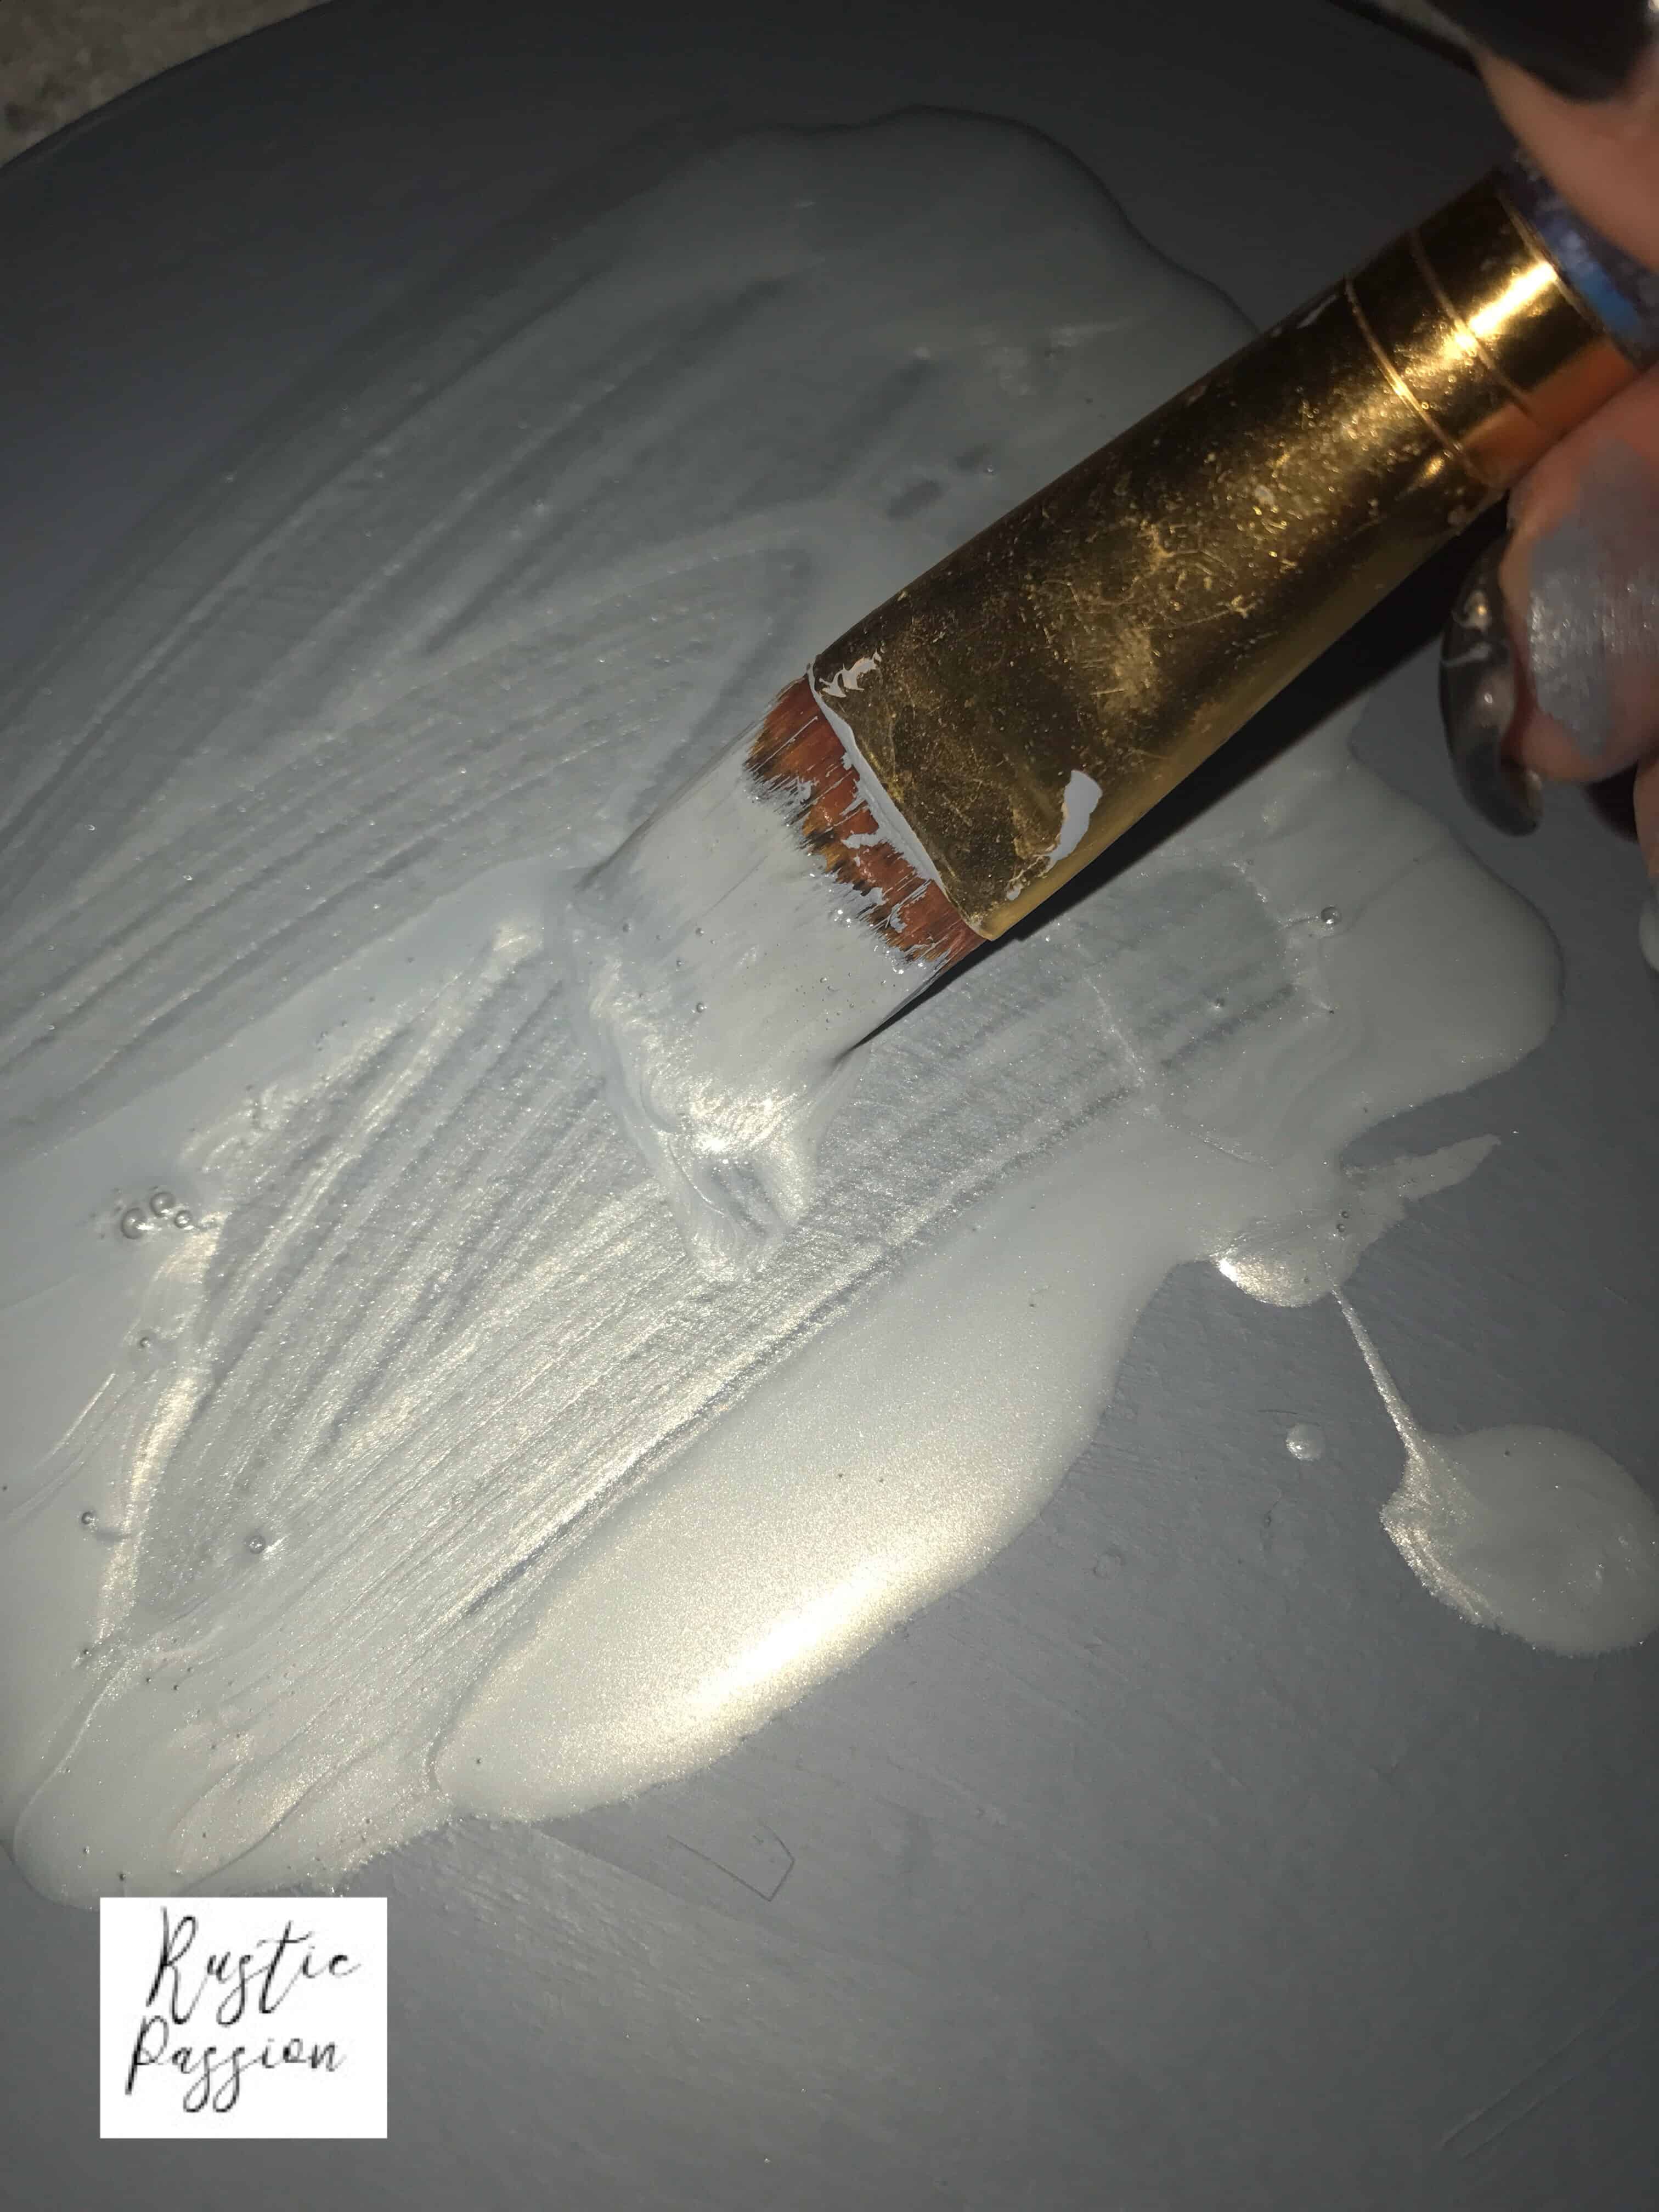
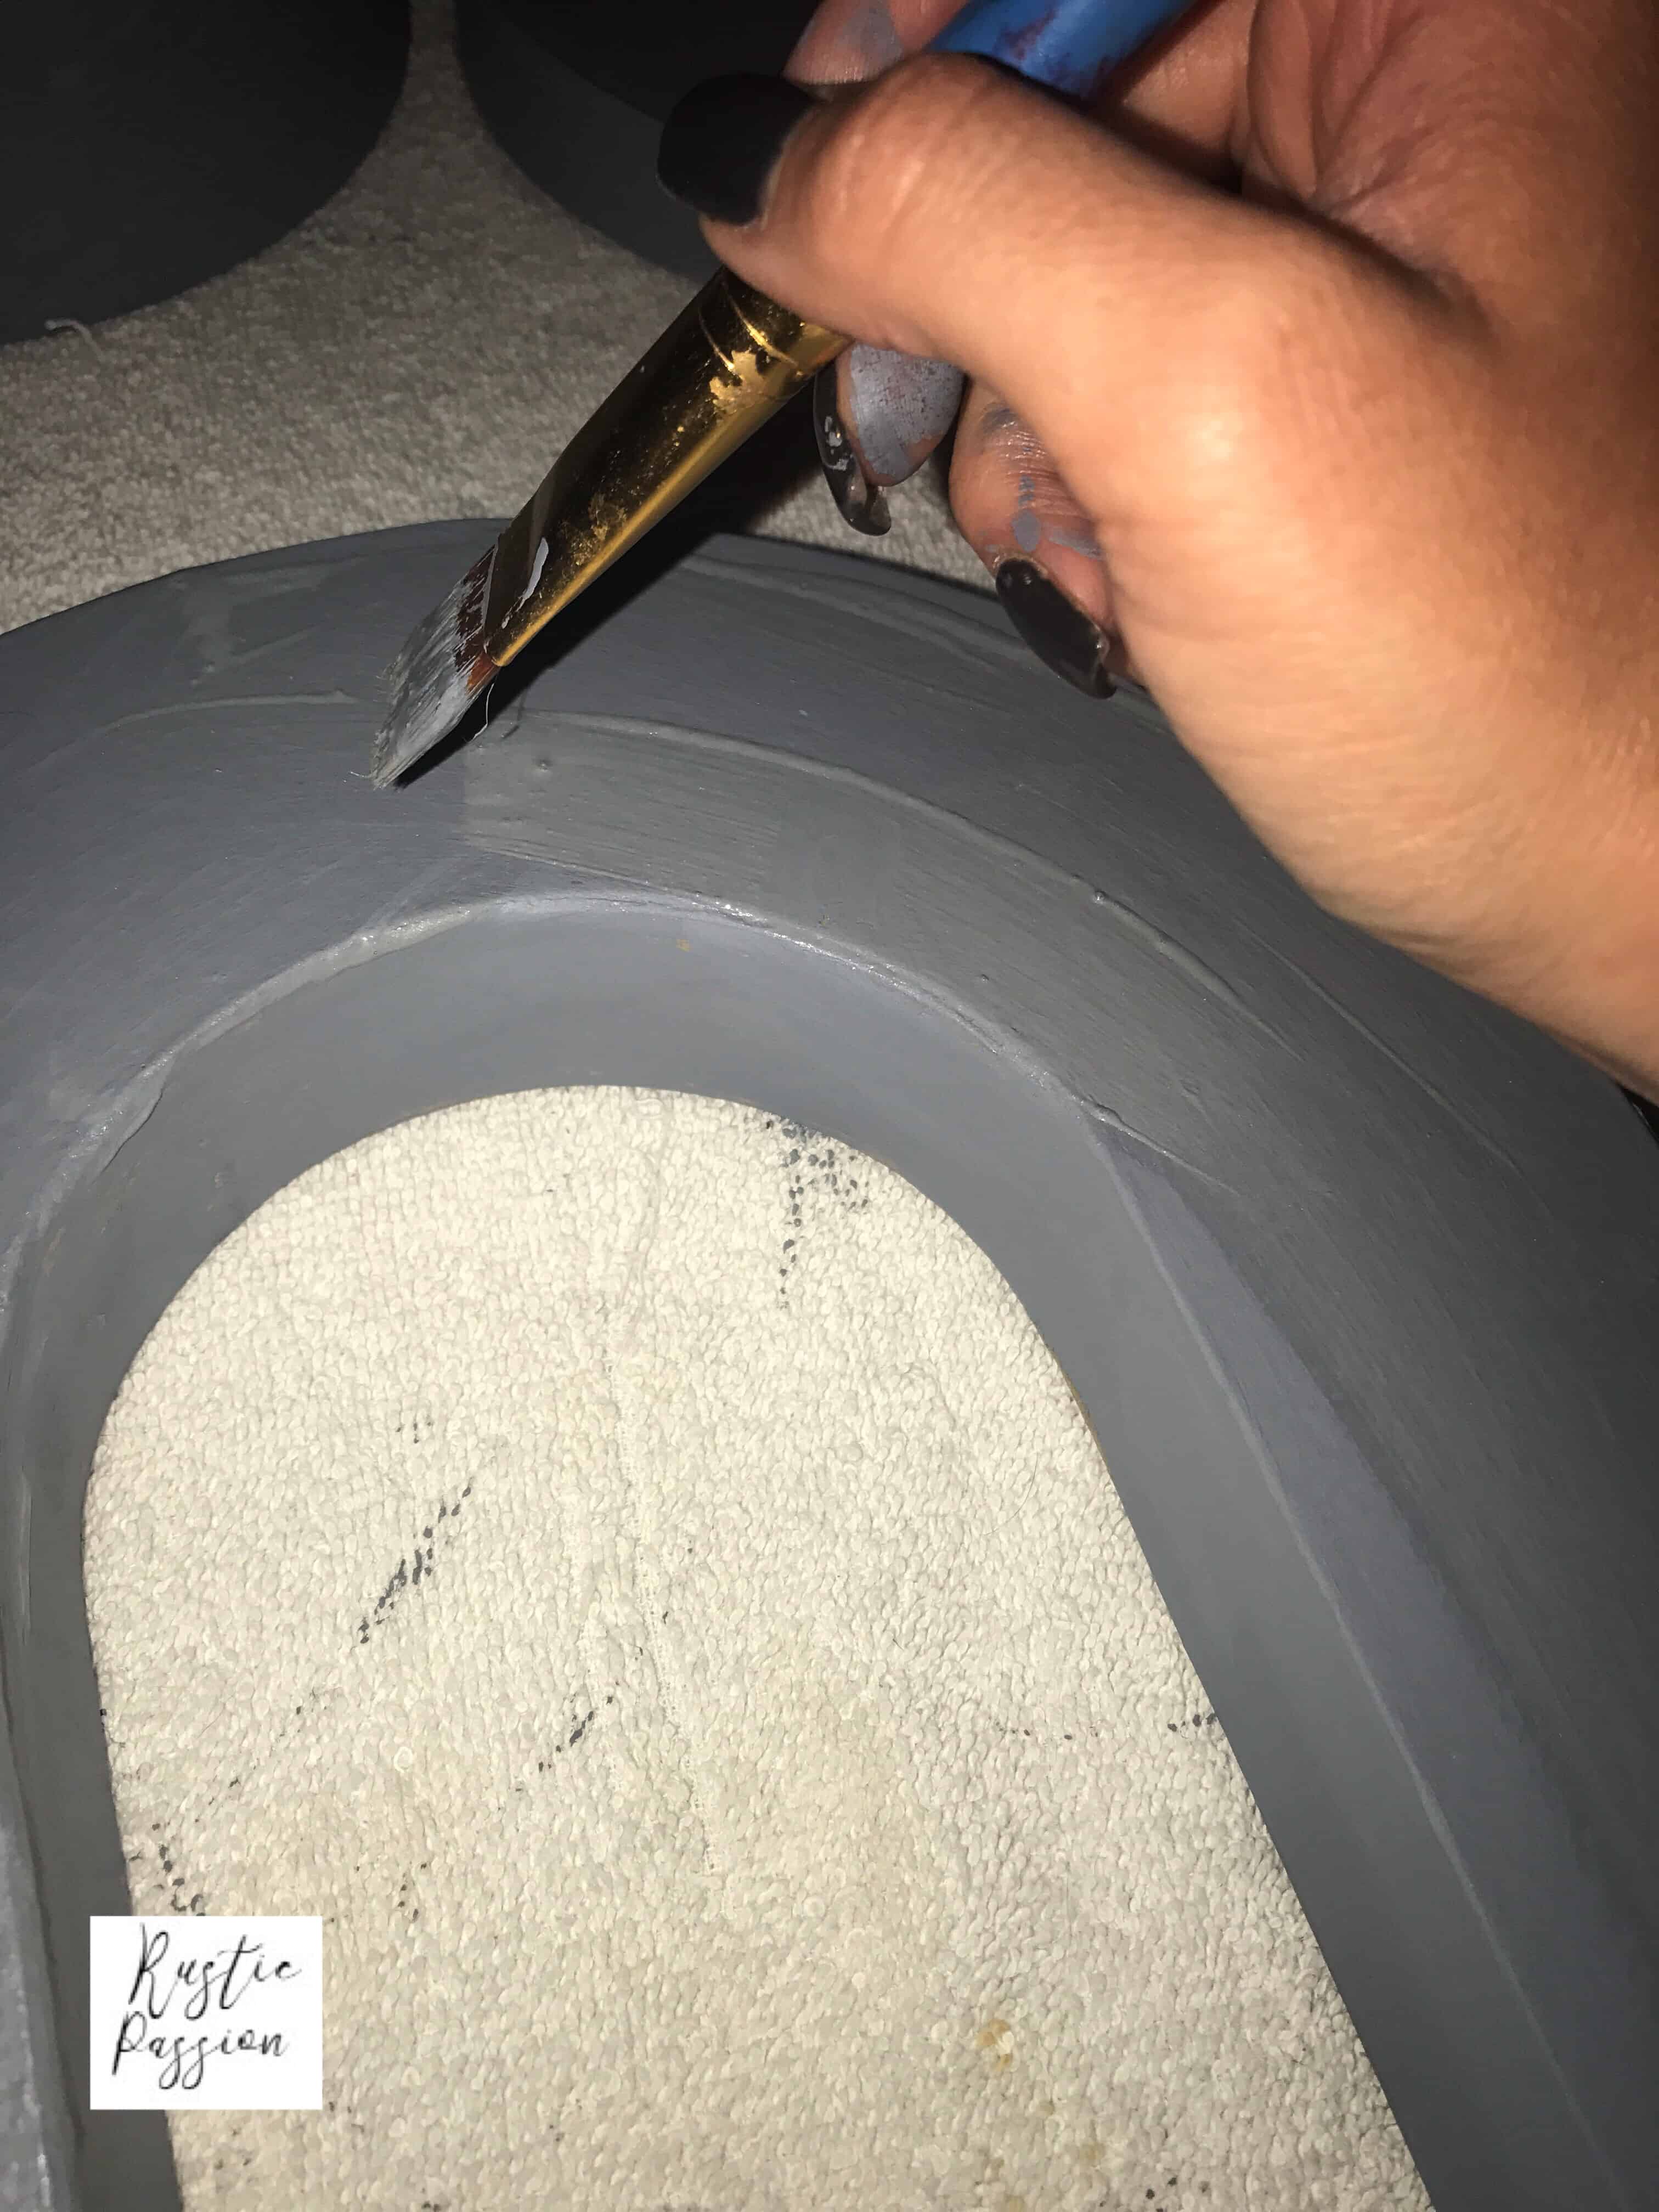
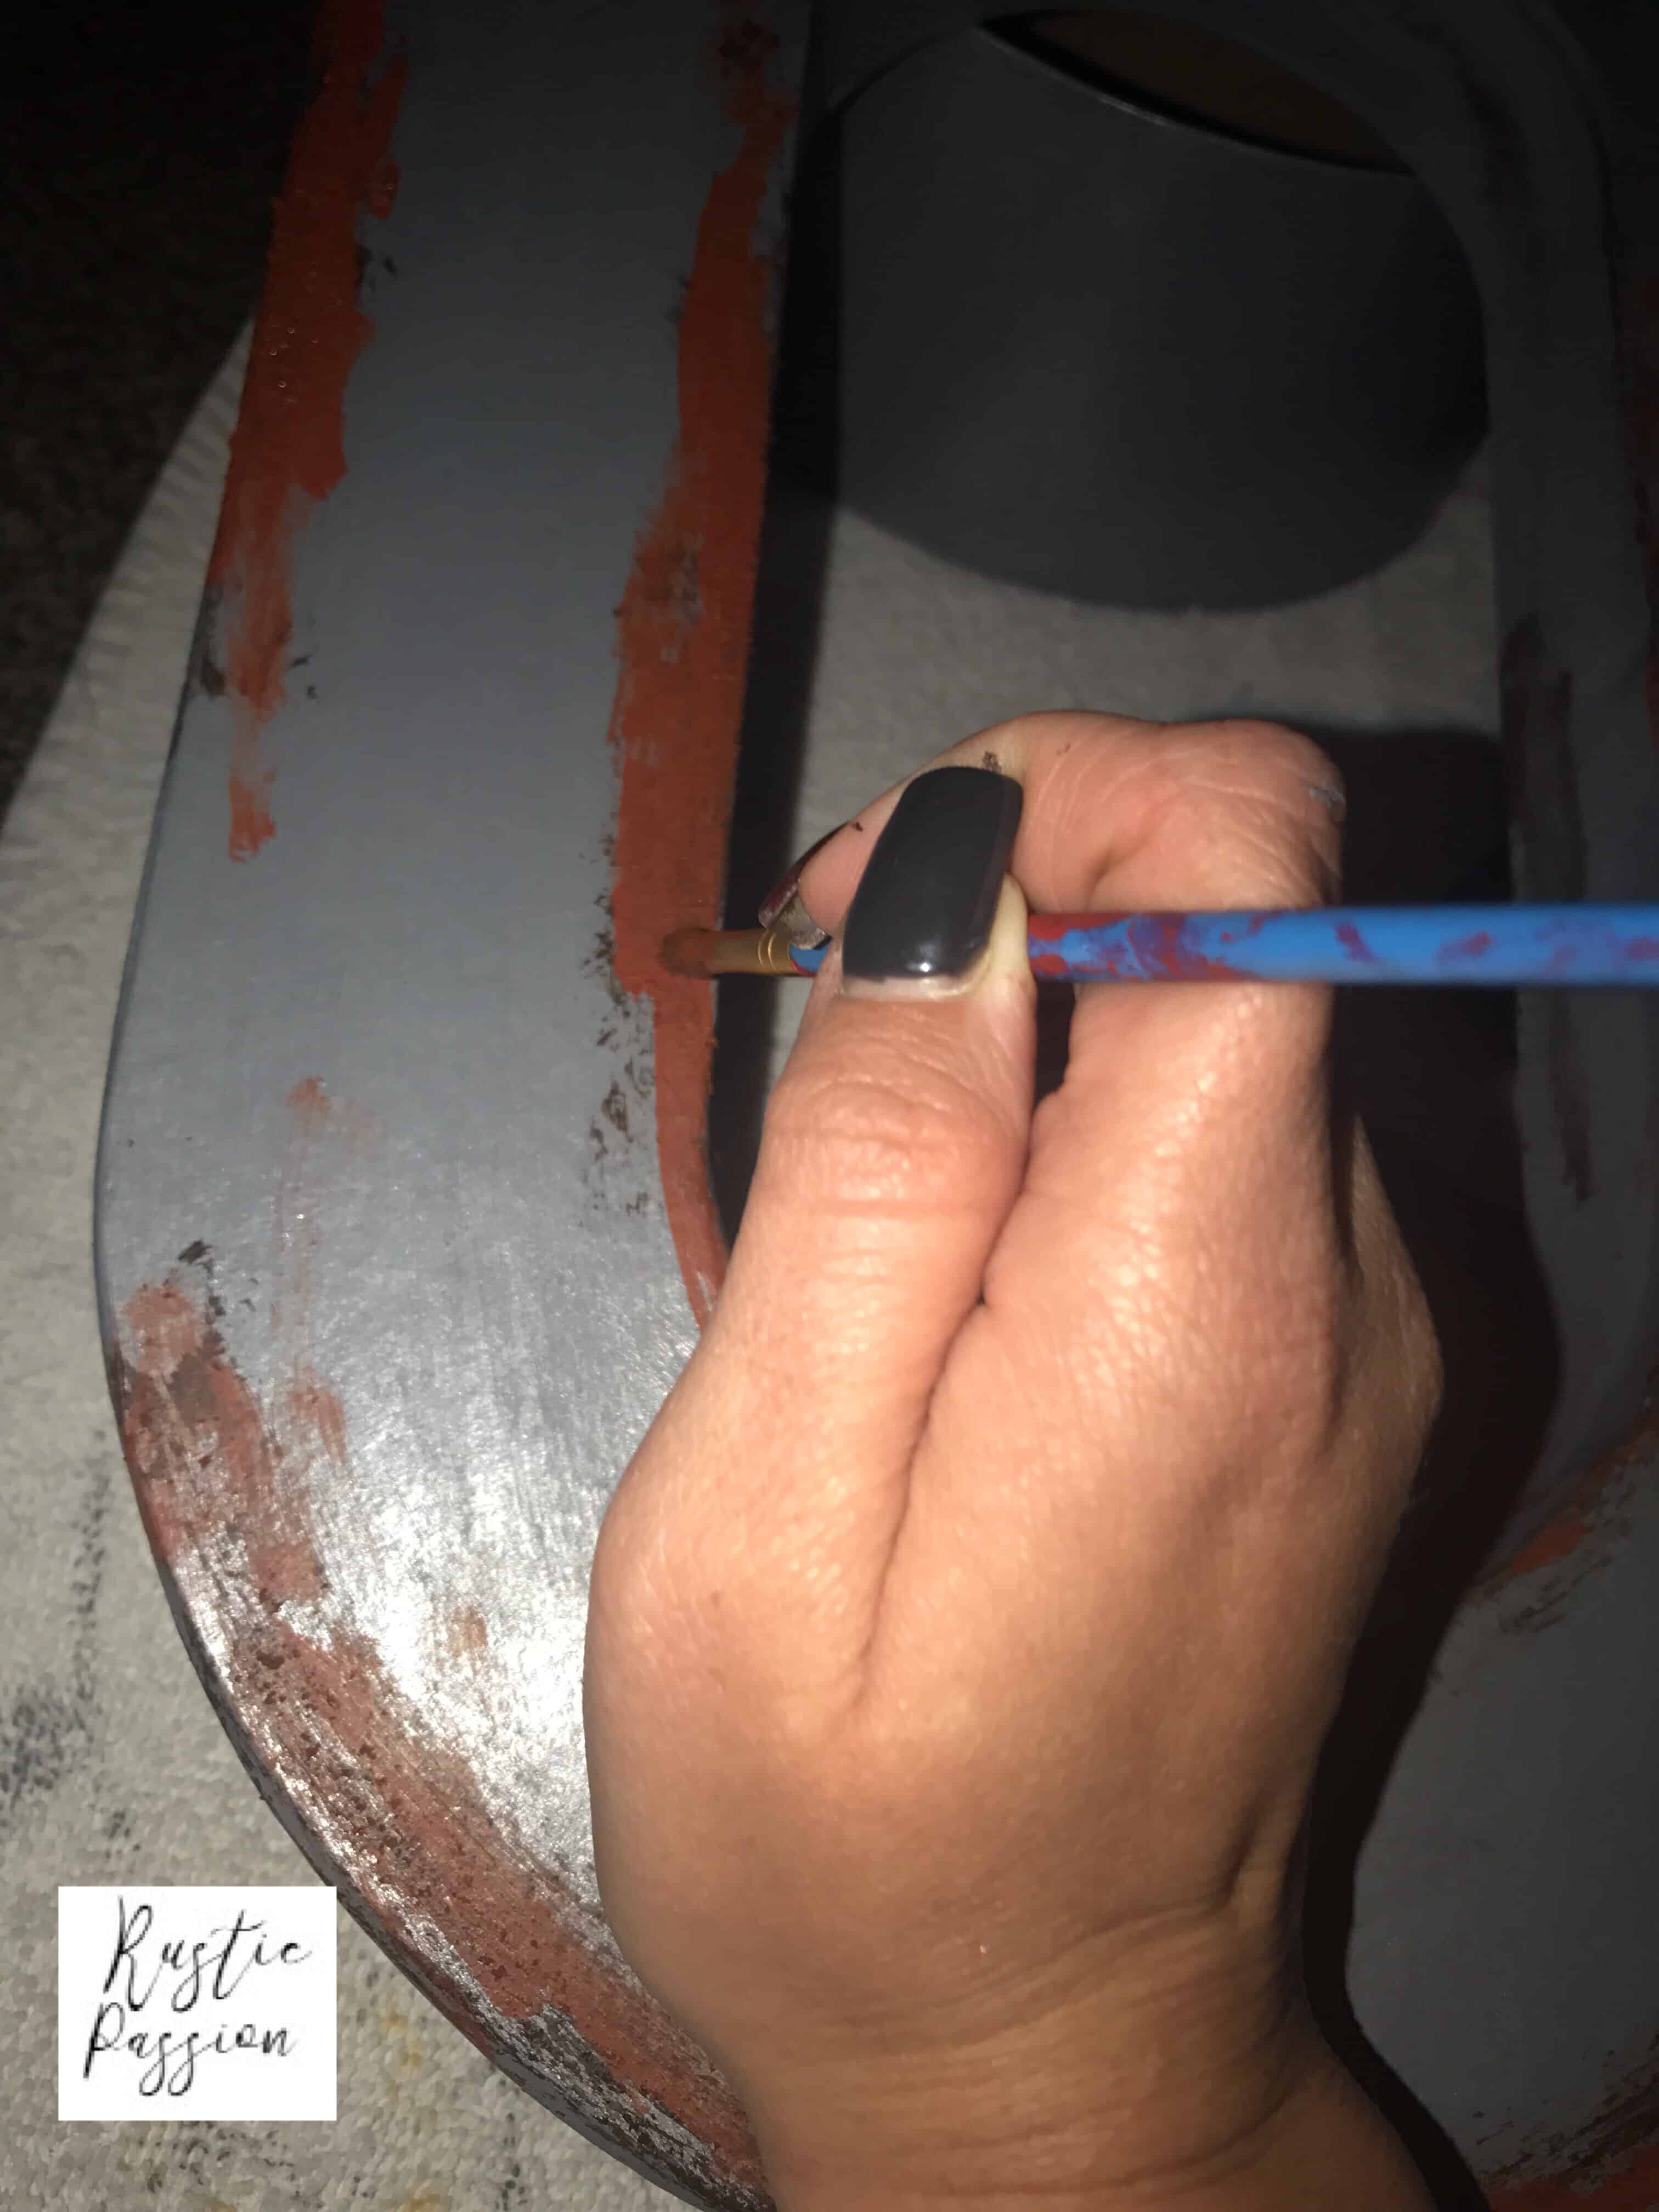
Once the last layer of metallic paint was dry I was able to use my rust paint. I haven’t ever used it before so it was a bit of trial and error. The paint set I bought came with two different shades.
One was a dark shade that dried chunky. It gave the rust a bit of texture.

I brushed it on the edges where rust would naturally go. The second paint color was a light brown that I brushed lightly on top of the dark paint once it dried. Like I mentioned it was a lot of experimenting because I hadn’t used this rust kit before.
But I ended up loving it!
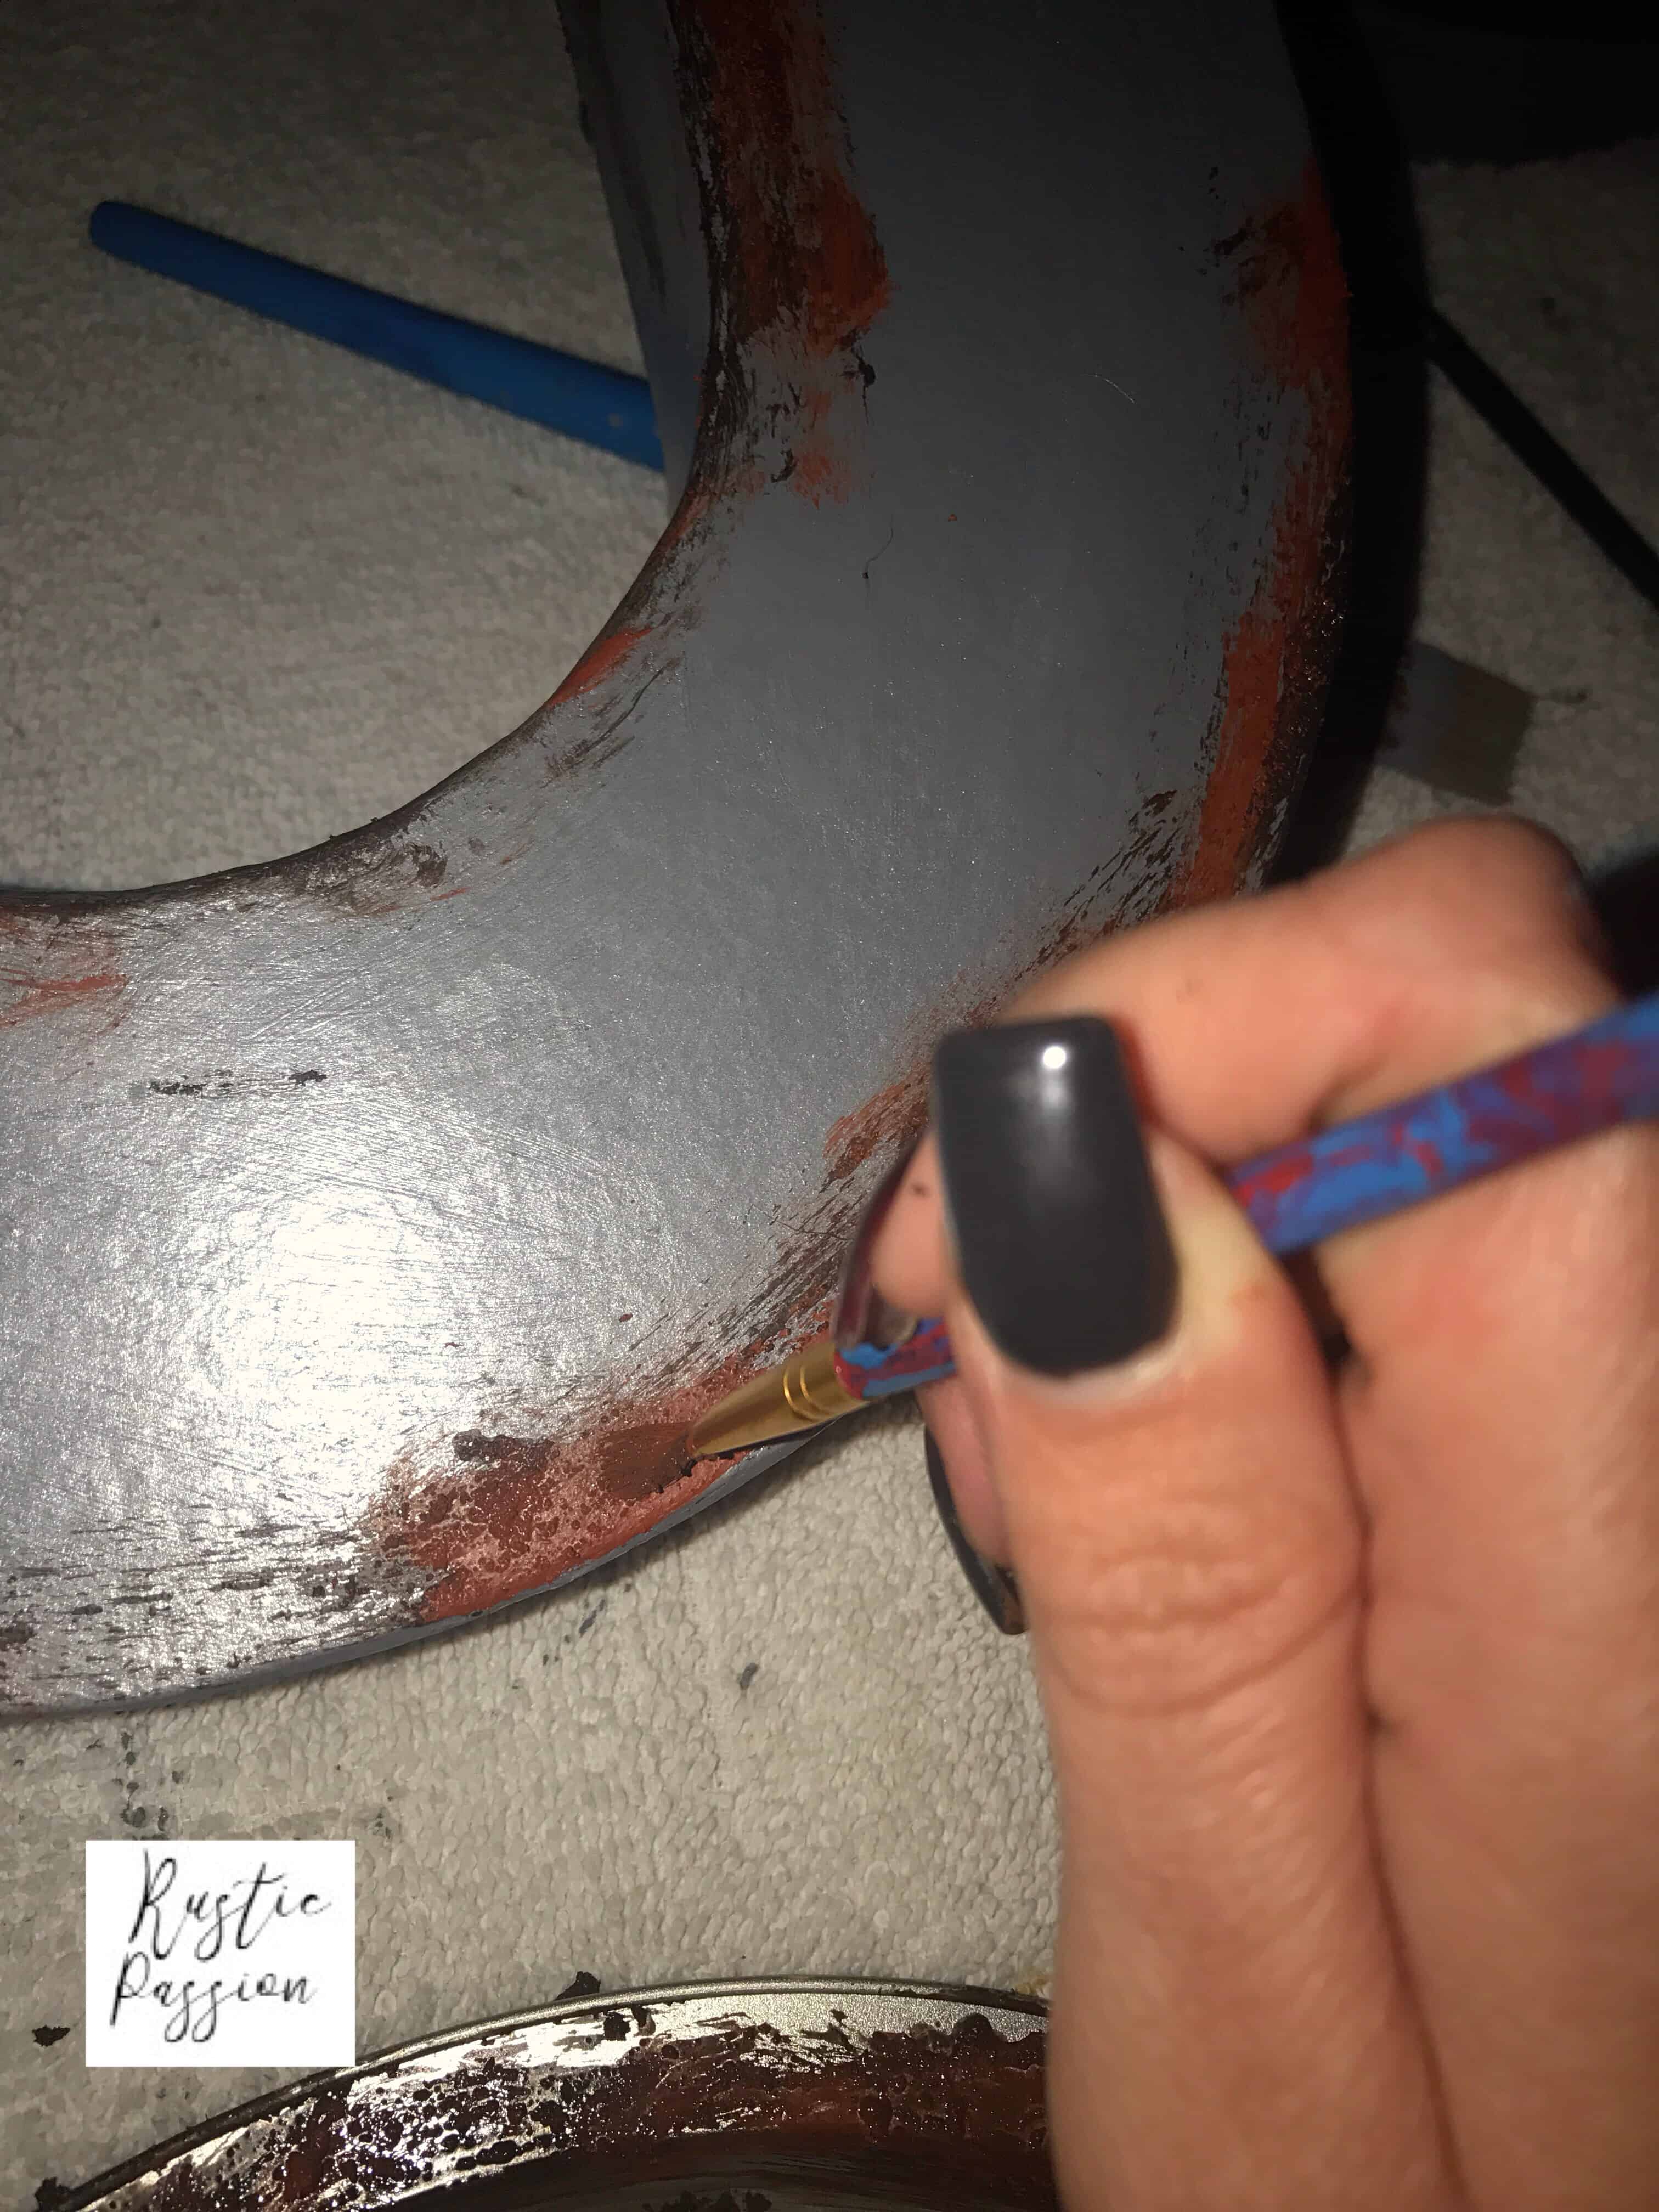
The best part is the fact that it was so chunky because it actually looked like layers were peeling off. Like it was genuinely an old rustic piece that had sat there for many years.
This DIY rust kit turned out to be super easy to use and the finished look was absolutely amazing. It looks so cute on my wall of O’s.
Take a look around the blog y’all! I promise you will find something interesting you love!
Popular Blog Posts:
Lastly, have you been wanting to create your own blog? I make ALL of my income from being a full time blogger. Keep reading if blogging is something you have always been curious about.
In other words here is an amazing post for y’all to give you step by step instructions on exactly what I use. Really though take a look at my blog post How to start a Blog the easy way! I’ve included a list of the best tools I use for my blog. I have used all the items in this blog post personally and absolutely love them. I have also linked discounts or the best price possible for each item. Go read it now and start a blog the easy way!
I pour my heart into connecting with my community. So if you want to be a part of my blog family I would love to connect with you. Let’s be friends on Instagram, Pinterest, and Facebook.
Well friends that’s all for today. Thanks for stopping by.
